Focaccia Bread
Bake together. Enjoy just-out-of-the-oven bread with dinner.
Today’s post: about bread, babies and food photos.
What is it about fresh-baked bread? Such a comfort food. The whole house smells amazing. Even better, focaccia bread is full of the pungent and fruity aroma of olive oil, which is used both in the dough and drizzled on top. (One time I cut back on the amount of olive oil, but it didn’t come out nearly as delicious.)
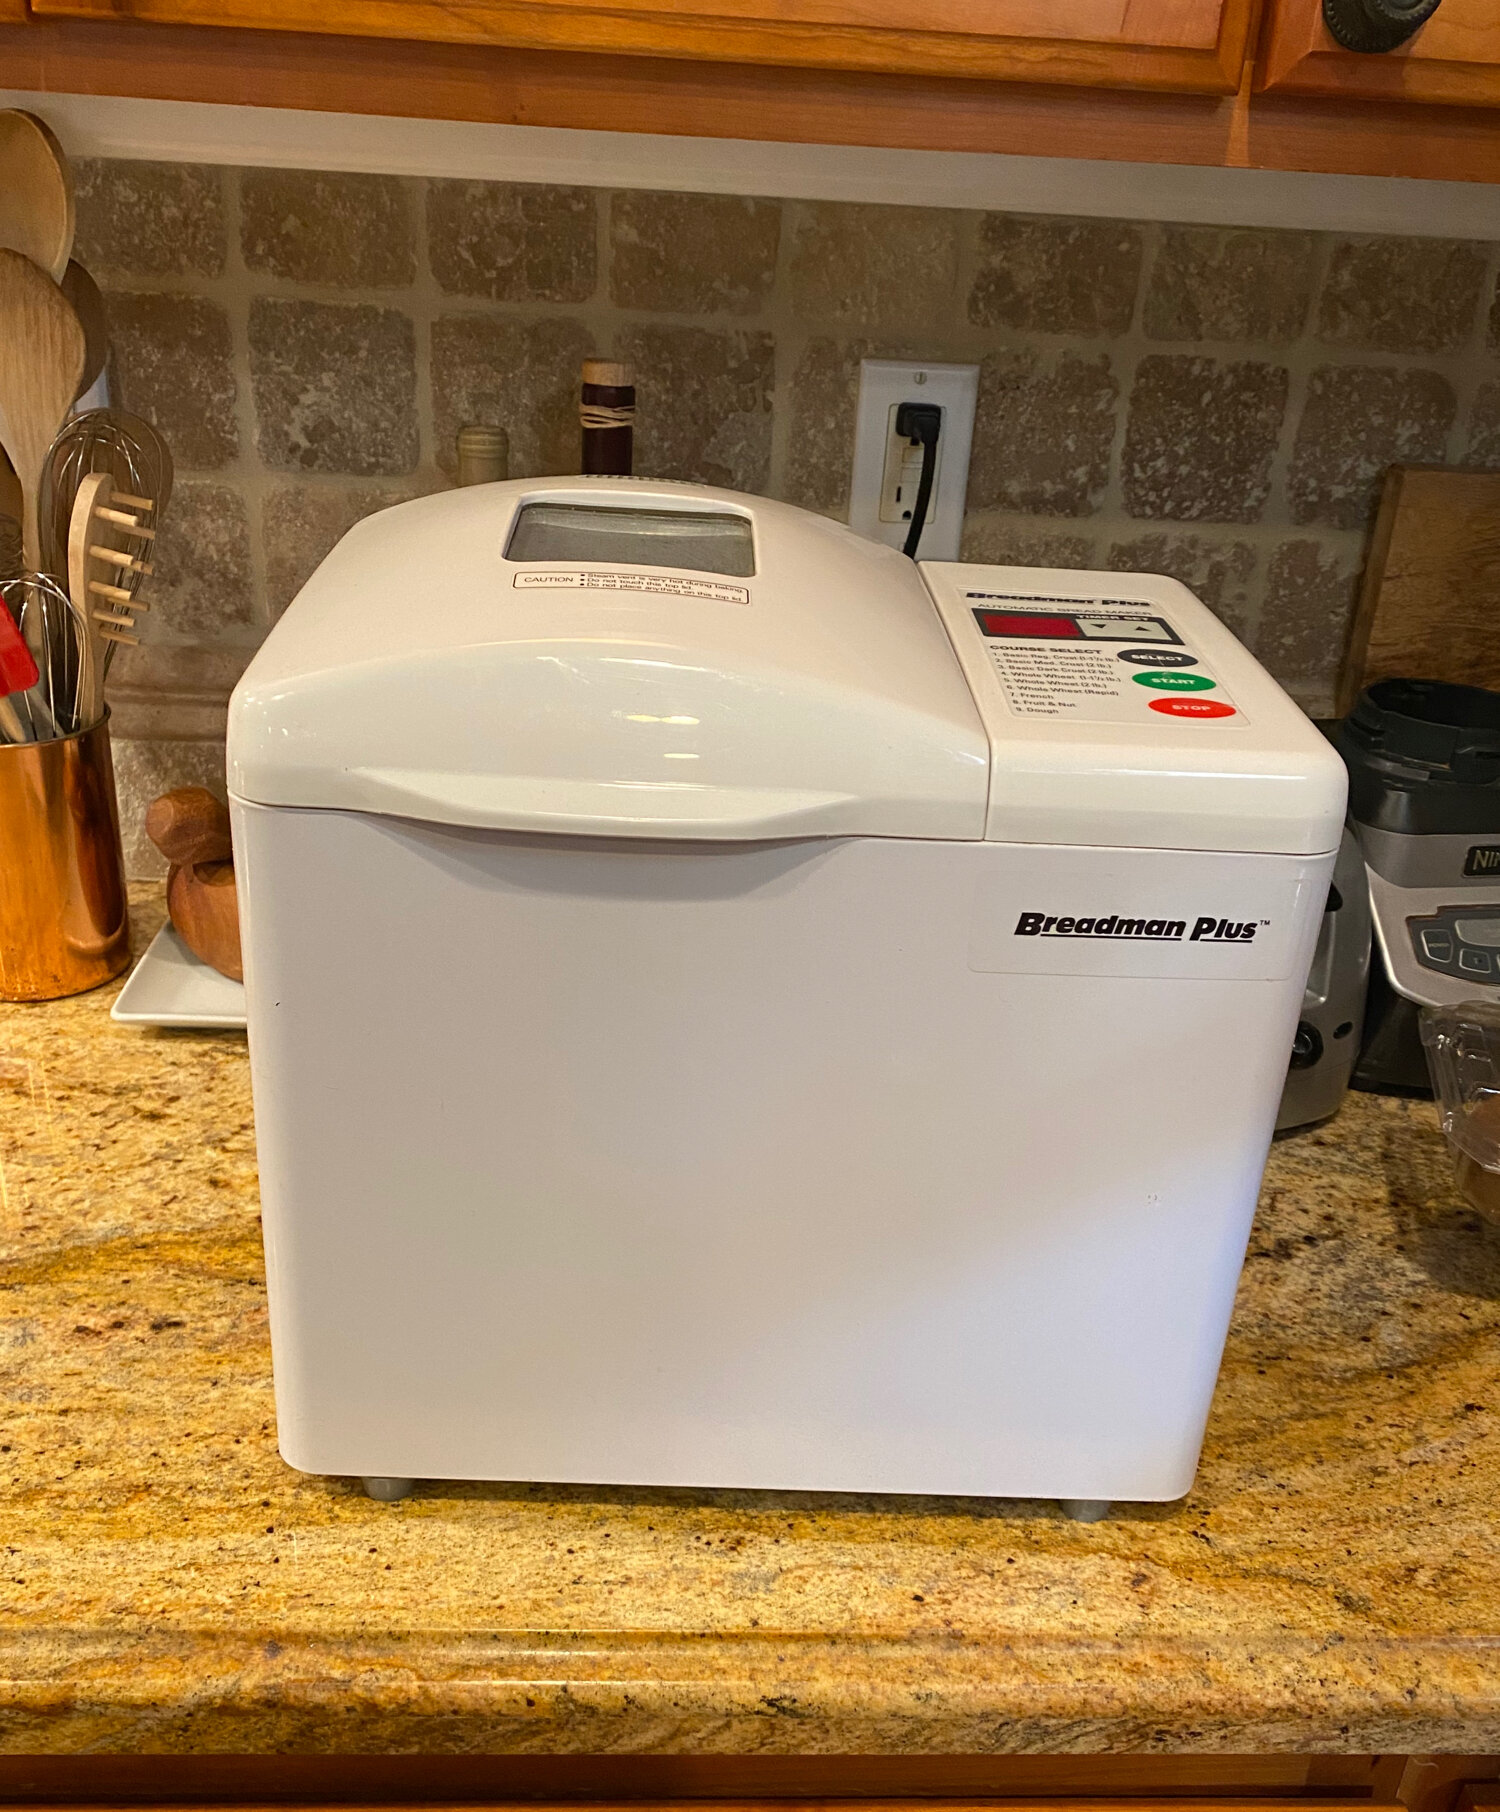
This recipe has a few simple ingredients and is easy to make even if you’ve never tried to make bread before. I love to use my bread machine on the dough setting and then bake the bread in the oven. But you can also make this recipe with a stand mixer using the dough hook or mix and knead the dough by hand.
Bread still warm from the oven takes even the simplest meal up a notch. The result is a delicious, herb-scented, flat loaf that’s ideal for family dinner or a buffet or social gathering.
Hanging Out with our Tiny Human
We’ve been trying to back on track to posting every week after a few months of posting every other week. Our big, marvelous distraction was the birth of TH (nicknamed Tiny Human before we knew his name).
Rebel and I helped Elyse out when he was born and then in the interim until regular childcare started. It’s been such a rare pleasure and we were glad to trade our time.
It’s so amazing to watch our little guy take in the world and interact with it. He’s so expressive and tries to sing and chat with us with baby squeals and chatter.
Take Great Food Photos
As Rebel and I were getting back to doing some recipes for the blog, we made several new recipes on a cloudy day. We ran out of time to get good photos via natural light and had to take pictures under the fluorescent kitchen lighting.
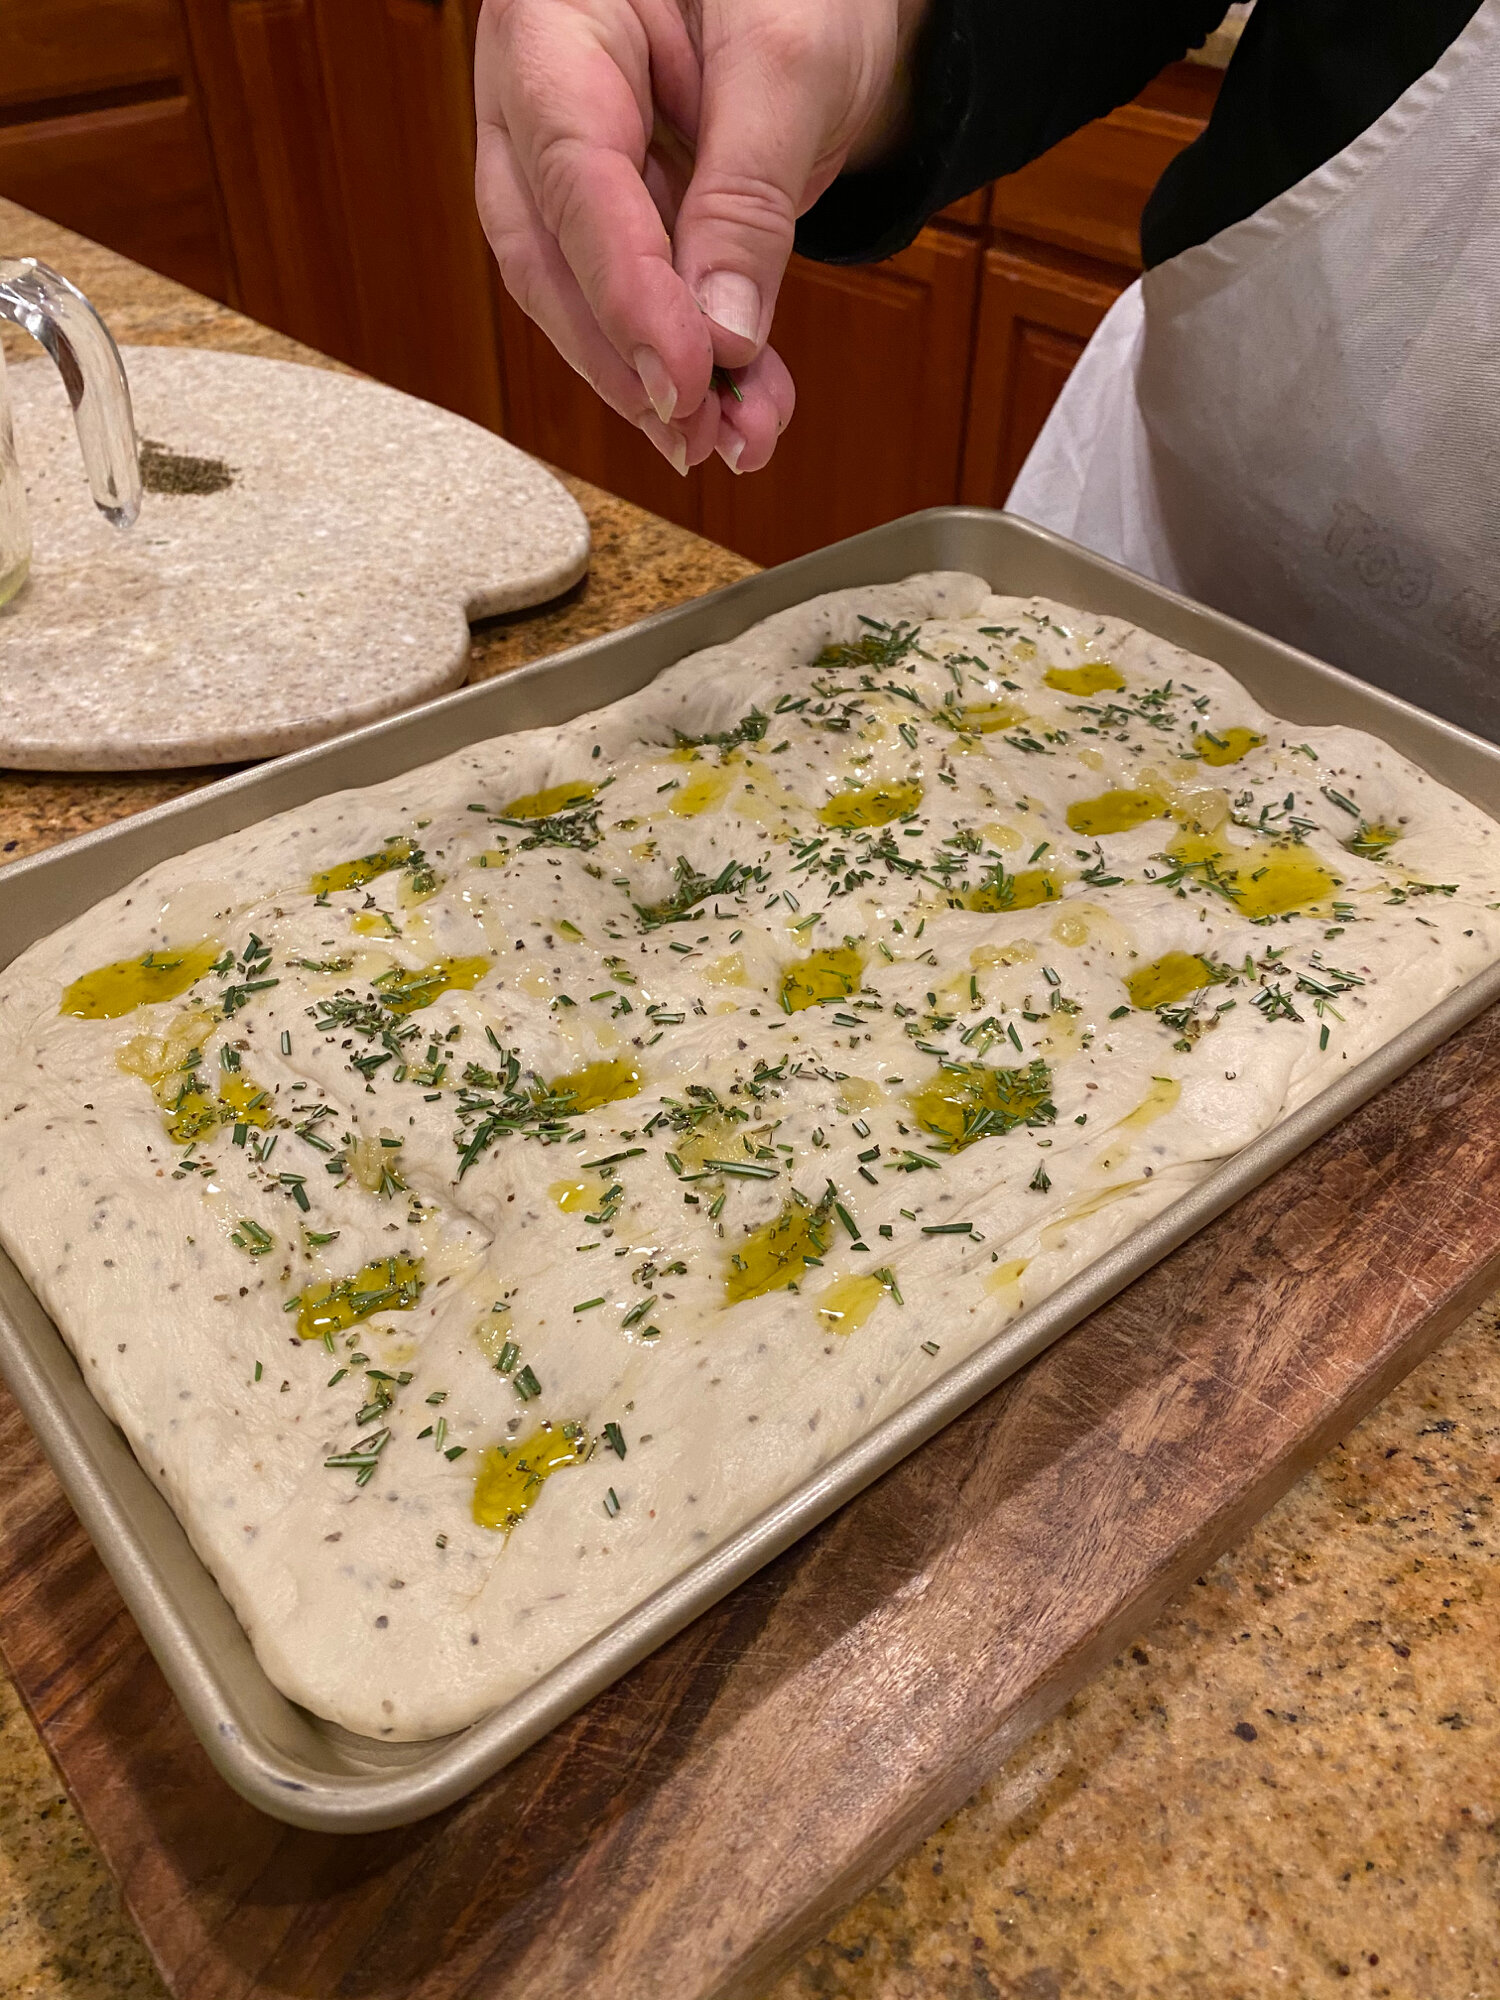
In our photos for this post, you can see how the focaccia bread (and the countertop) look a bit yellow, which shows up more in the baked, finished bread. We thought this bit of imperfection could demonstrate the difference in taking food photos under artificial light.
We’ve learned a lot about taking food photos in the time we’ve been food-blogging. It’s been an interesting journey with a lot of trial and error. Our best results are when we set the food near a window and let the natural light works its magic.
Late afternoon light is best for the location we’ve selected (and for us non-morning people). Sometimes I hold a dishtowel up to filter shadows and bright spots while Rebel takes the pictures. It’s probably quite a look when we get going, but it’s one of the most fun and creative parts of doing the blog.
Artificial lighting is what makes restaurant food so hard to capture. The biggest tip we can share for taking photos of food at home is to turn off all the lights. Even at twilight when the sun has just gone down, you’d be surprised how much light will come through a window.
Try this photo tip and let us know how it goes.
~ Lee

Focaccia Bread
ingredients:
- 1 cup water, warm but not hot
- 3 cups bread flour
- 1 teaspoon fine sea salt
- 1 1/2 tablespoons olive oil
- 2 teaspoons dried oregano
- 1 1/2 teaspoons active dry yeast
- 3 tablespoons olive oil
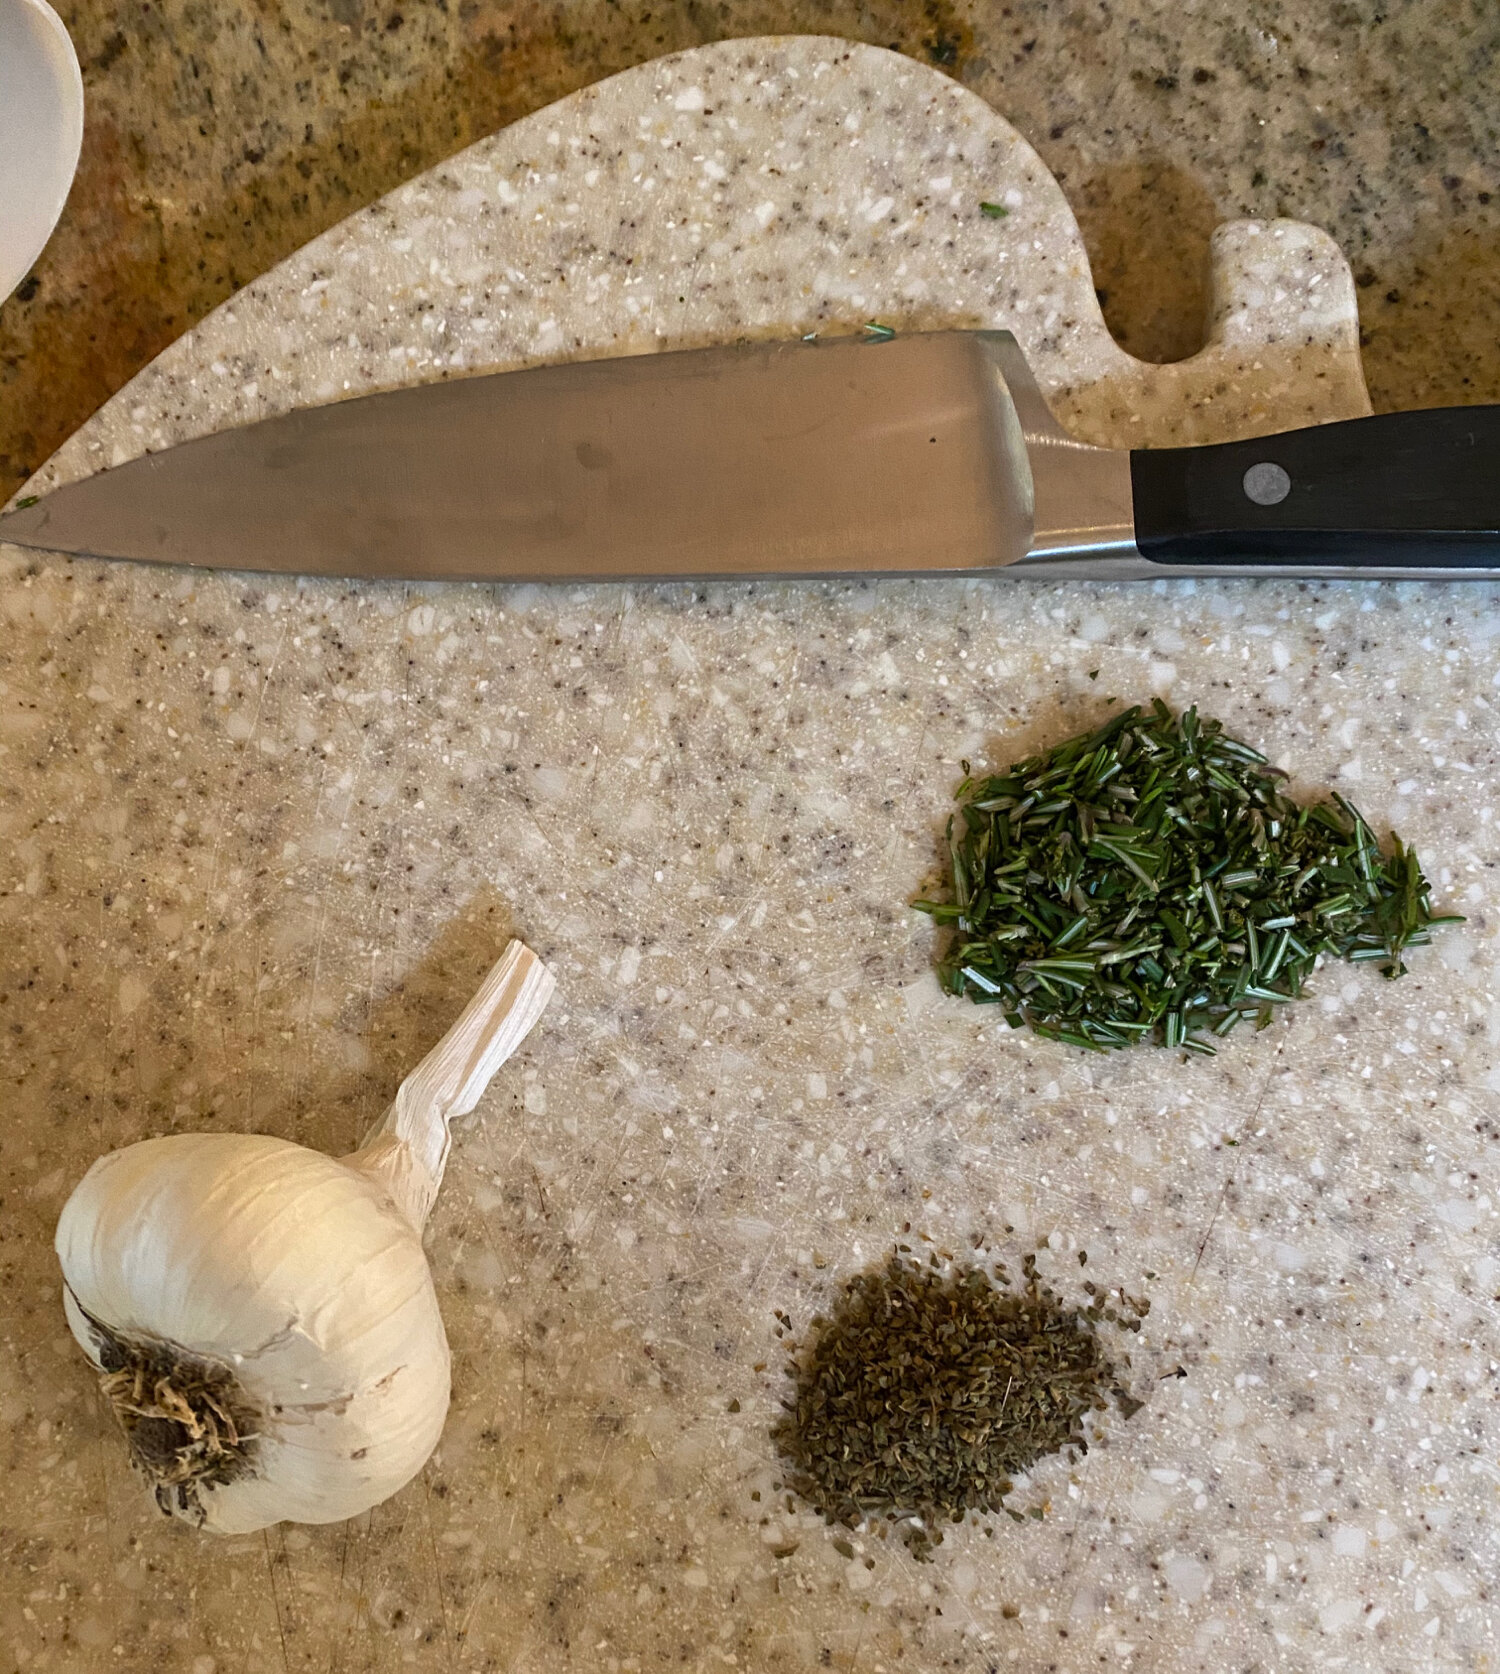
- 1 clove garlic, minced
- 1 tablespoon fresh rosemary, chopped
- 1 teaspoon dried oregano
instructions:
How to cook Focaccia Bread
- These instructions are for a bread machine. For instructions on how to make focaccia by hand or with stand mixer, see notes at the end of the recipe.
- Remove the pan from the bread machine, set the paddle in place, and pour in the water. Add bread flour and salt. Make a slight well in the center and add 1 1/2 tablespoons olive oil, 2 teaspoons dried oregano and yeast.
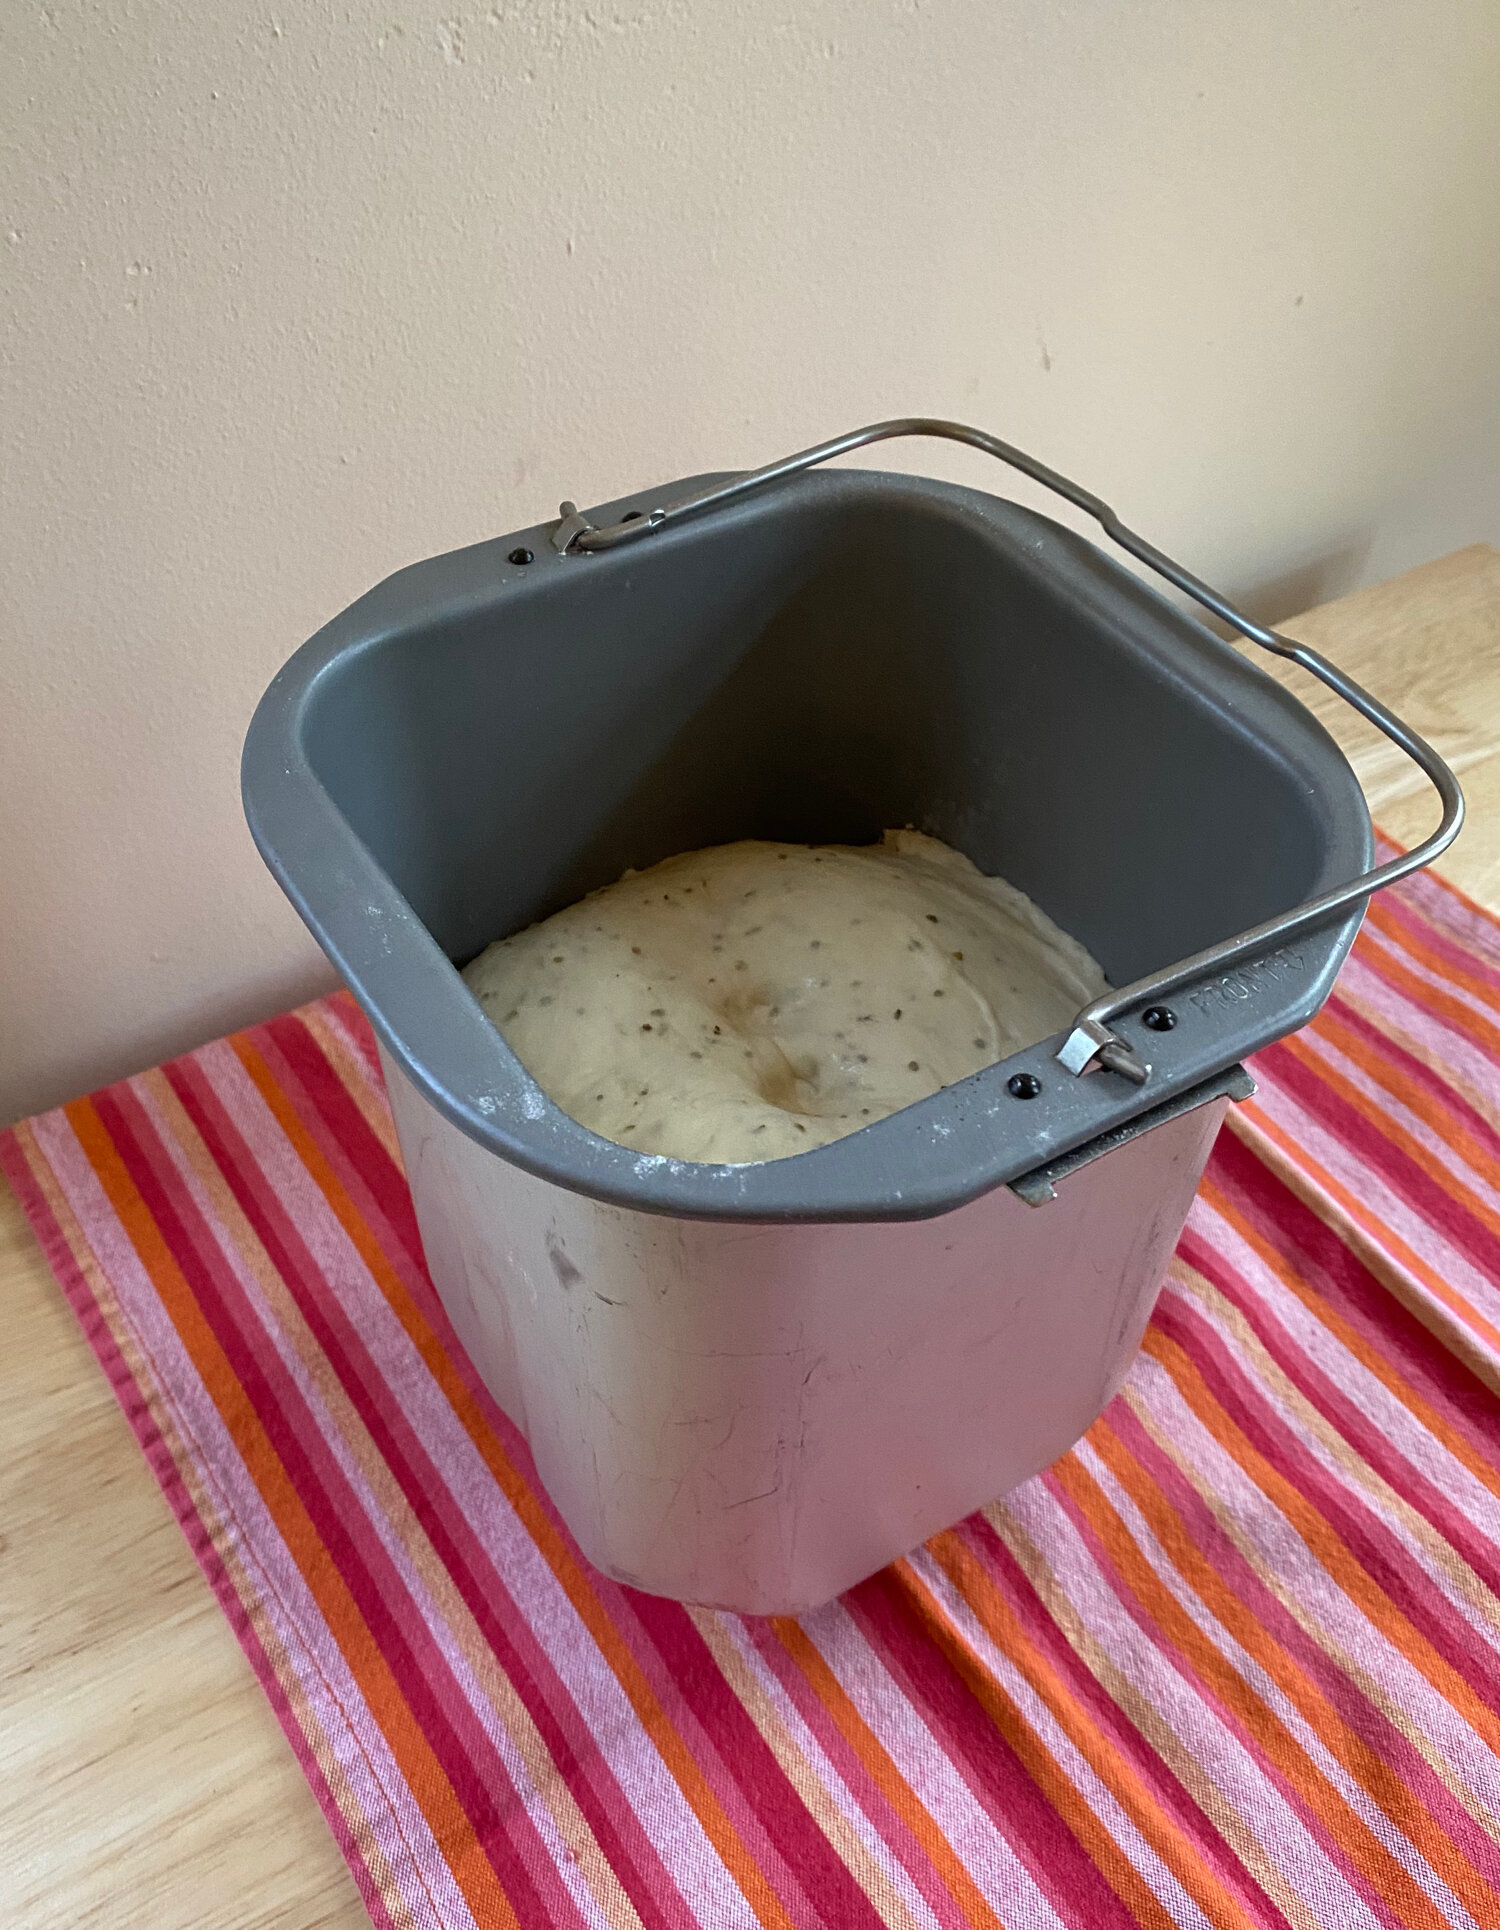
- Place the pan in the bread machine, select the dough setting and start. This will take about 90 minutes to mix and rise.
- When dough has risen, turn out onto a floured surface. Punch down and let rest for about 5 minutes so that dough relaxes and is easier to work with.
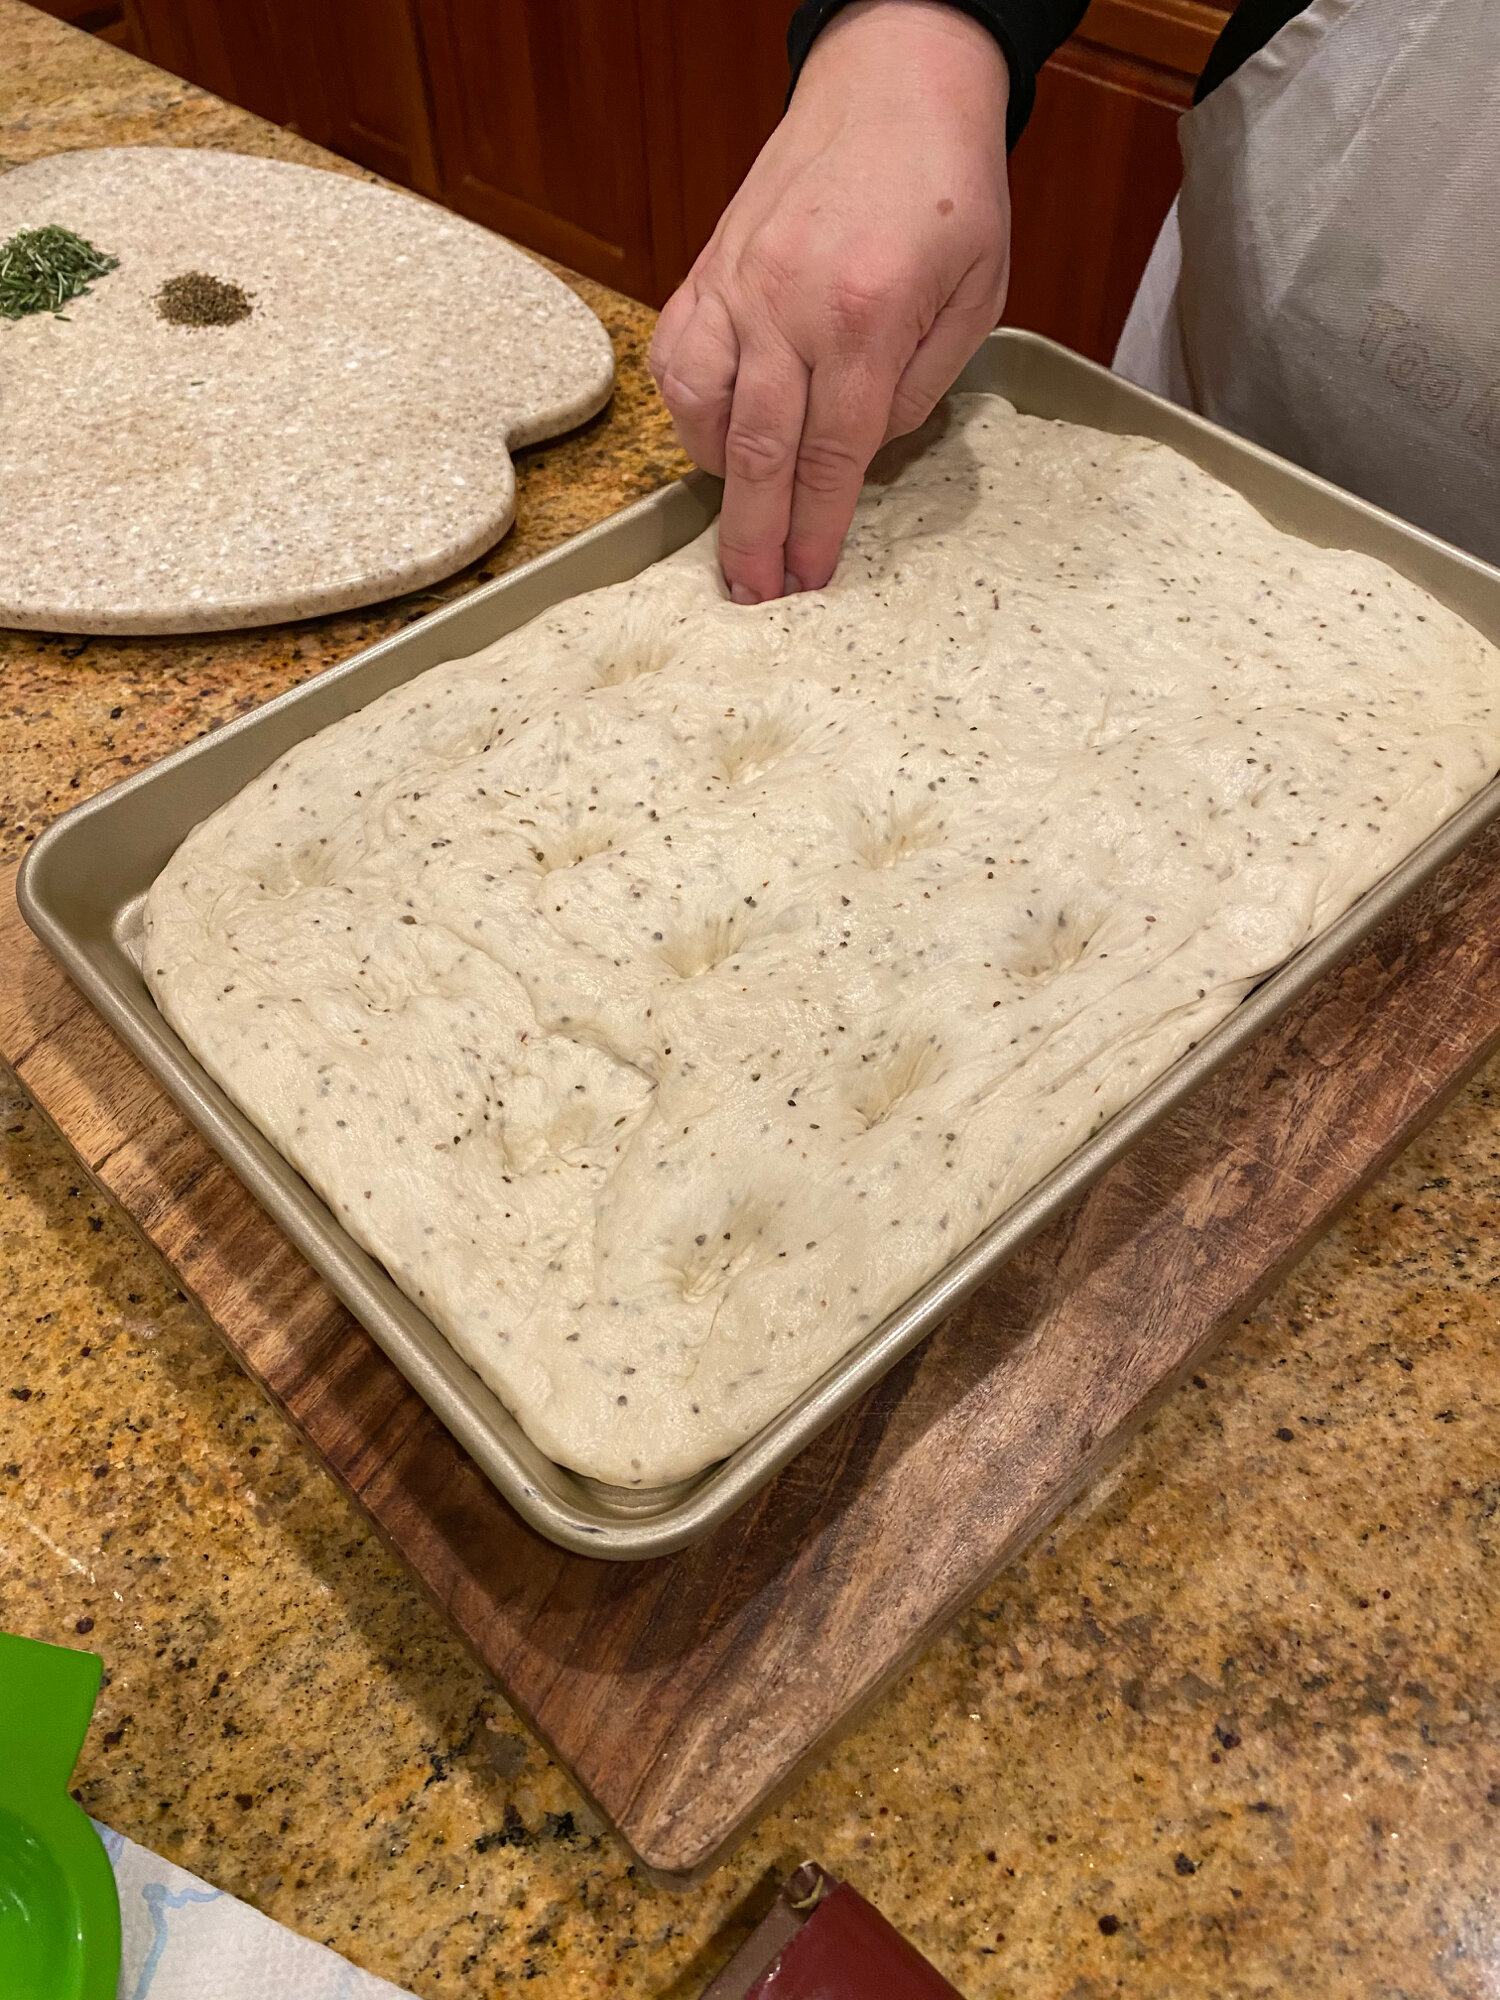
- Oil a 10” x 15” jellyroll pan (baking sheet with 1-2” high sides). With oiled hands, press the dough into the pan, pushing to the sides and into the corners. Even out the dough so it will bake uniformly.
- Cover loosely with plastic wrap or tea towel so that covering doesn’t touch the dough as it rises. In a warm place, let dough rise until doubled, about 30-40 minutes.
- Mix 3 tablespoons olive oil and garlic and let rest while dough rises.
- Heat the oven to 400°.
- After second rise, uncover the dough and prepare for baking. Using two fingers together, make depressions about 2” apart all over the dough. Drizzle with the garlic and olive oil, letting oil partially fill the depressions. Sprinkle with fresh and dried herbs.
- Bake uncovered in center of the oven for 22-30 minutes until deep golden brown.
- Let cool slightly and cut into squares. Best served warm.
- Store leftover bread tightly covered for 2-3 days.


